
I had established that the original system using relays to switch everything was inefficient and my original lashed up modification drastically reduced the load on the battery.
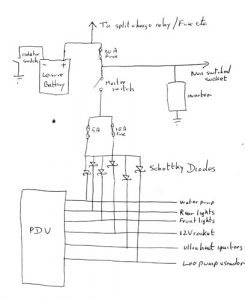
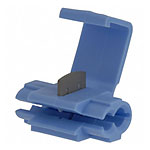 The mod was implemented using terminal strip fixed to the struts under the seat (where the leisure battery and PDU are located) and scotchlok connectors to tap into the wiring. The schottky diodes were mounted on the terminal strip.
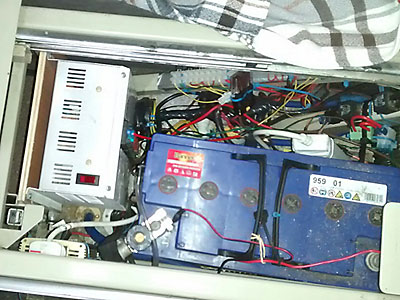 The mod worked very well with no problems for four years but the wiring was not a pretty sight. So a replacement PDU (Power Distribution Unit) was needed.
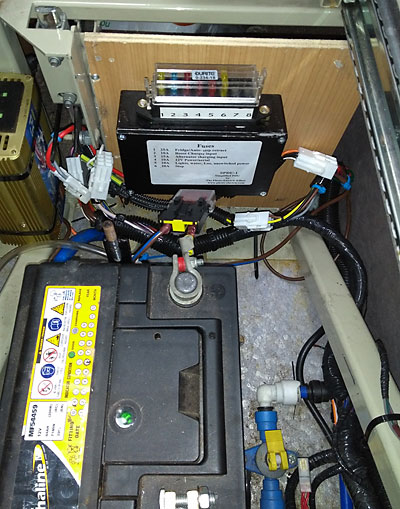
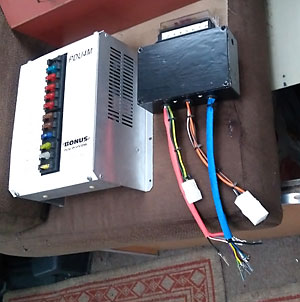
I needed to be able to unplug the existing PDU and plug in my replacement so the first challenge was to source connectors that would mate with the van wiring. A web search (looking for matching pictures) established that they were BCA harness connectors and were available on line from caravan accessory shop uk. Then it was a matter of using the schematic in the handbook and a meter to find the connectors I needed.
As I have mentioned, the original system is horrendously complicated. The control panel is microprocessor controlled and gives an indication of fresh water level (very unreliable) waste water level (never worked for me at all) blown fuses (may have worked – I never blew any) as well as battery condition (useless). This means there are lots of wires in the harness that I simply don’t need.
The New System

I modified the leisure battery charging circuit so that the alternator will take the leisure battery to 14.4V (as it did before). I also fitted a solar panel! (after all my talk). It’s only 10W and its fitted inside the skylight. Now it gives out 10W at 18V so that’s around a half amp.
The way that solar panels work means that, unless I use a boost converter, I get about a half amp at any voltage (bright sun overhead of course)
SO here is the charging cycle:-
Start the engine – battery begins charging from the alternator at about 10A.
As the voltage rises to 14.4V the alternators current reduces. It’s possible to get a reasonable idea of the state of the battery from the charging voltage. Basically there is a finite resistance between the alternator output and the leisure battery. So as the leisure battery volatge approaches 14.4 volts it shows that the battery is taking less current and it is becoming charged.
Then we stop. If we are not on site (and therefore the fridge reigniter is not taking current) AND the battery is almost fully charged from the alternator, the solar panel will eventually take the battery up to a re-conditioning voltage. The solar panel can only supply about a half amp max when the sun is shining so this will only happen occassionally – which is good.
This can only happen because after my mods to the system, there is NO drain on the leisure battery.
If we are on site we start using power. We should uses about 4AH per night
Then we switch off the power and go to sleep. The sun rises long before we do and the solar panel starts to supplement the battery. It’s a bit weather dependent. On a bright summer day it may manage to put back in maybe half of what has come out the night before. But mostly it will be compensating for the fridge re-igniter On an overcast winters day it won’t do much.
But this works fine for our life style. In winter we don’t stay in one place for long and the alternator will do most of the work. In the summer we do hang around places, so there is not so much alternator charging and we don’t use much electric so the wee solar panel should keep the discharge level very low. We should only be using a total of around 2Ah per day or about 5% of the battery capacity.
The leisure battery
This is an experiment – I’ve tried a brand new highly esteemed 110AH battery from Banner. Now I’m running with a five year old 44AH starter battery from Alphaline!
We shall see what we shall see.